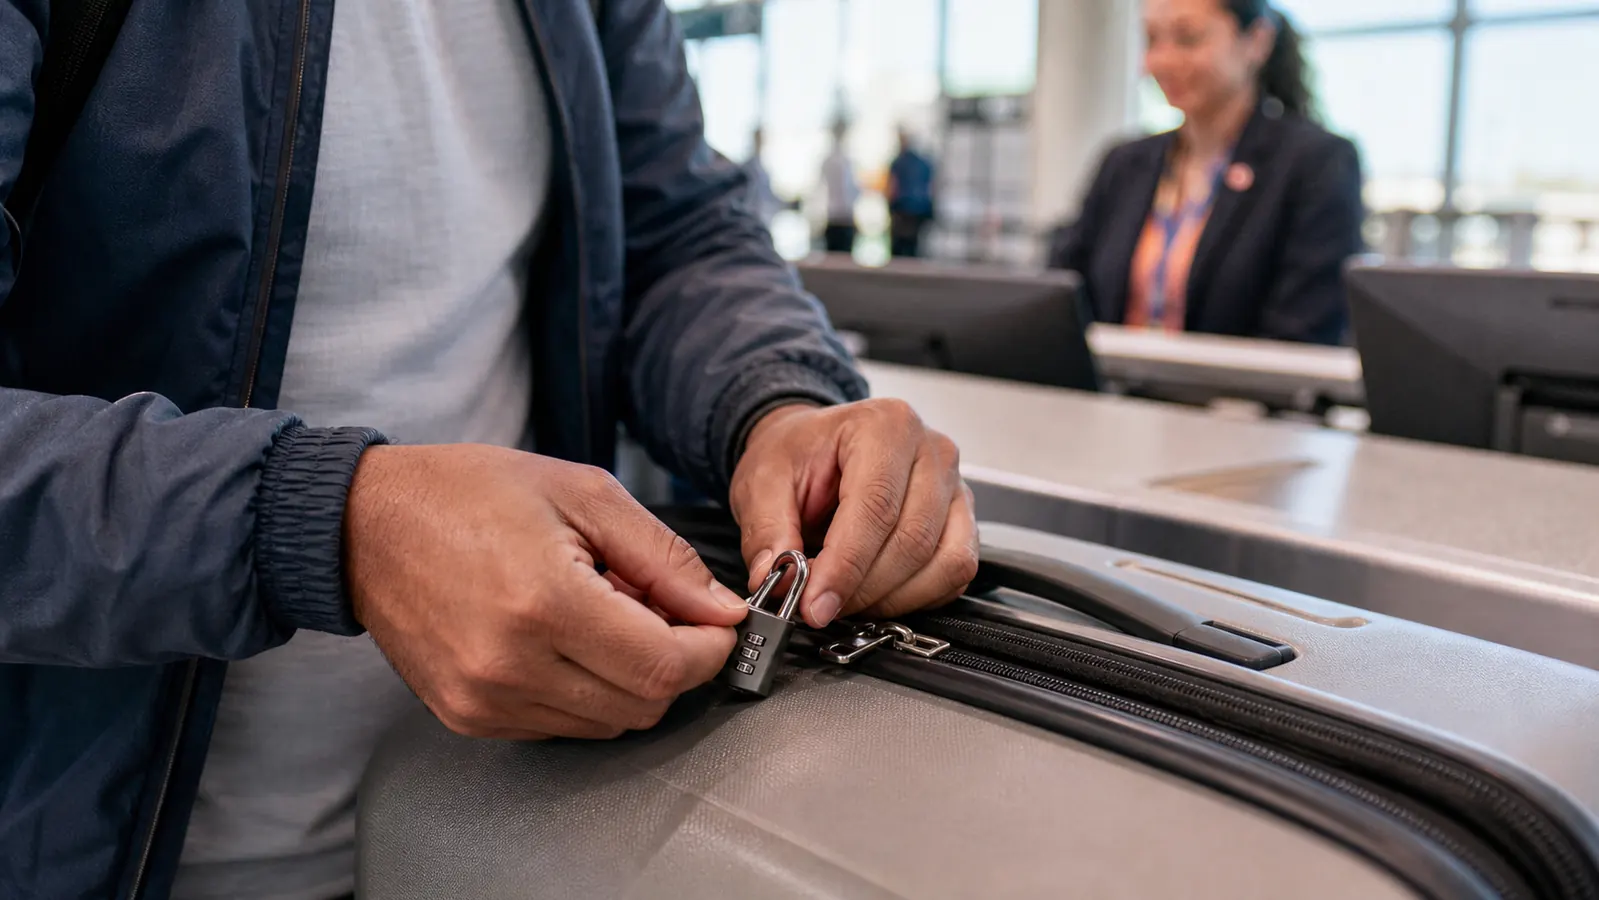
Checked luggage disappears behind the counter and you do not see it again until baggage claim. In between it goes through automated screening, gets thrown onto conveyor belts by baggage handlers moving thousands of bags an hour, and sits for hours in a cargo hold next to a few hundred other zippers that all look the same. None of that is under your control. The zipper pulls on your own bag are under your control, and a TSA-approved combination lock is the cheapest, fastest way to close that one gap without getting your bag flagged or your lock cut off during a random secondary inspection. This guide walks through exactly how to set one, where to place it, and what it realistically protects against once your bag is out of sight.
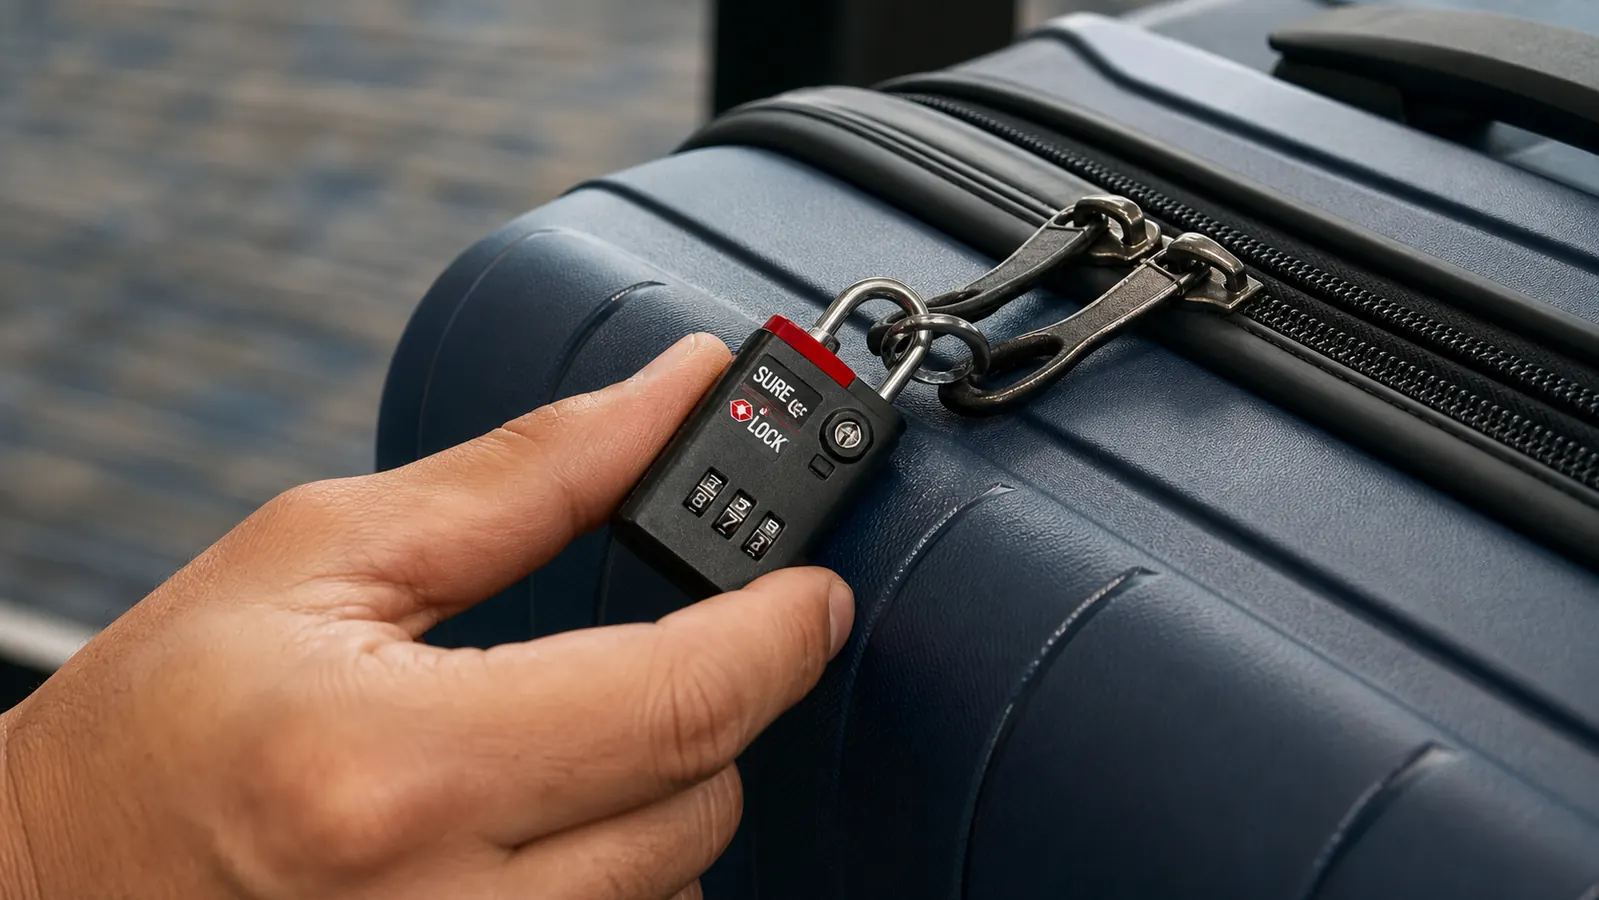
The lock I use on every checked bag is the SURE LOCK TSA-approved combination lock, a three digit dial lock with a small red and green indicator window built into the body. Set the dial to your code and the window shows green. If a TSA screener opens your bag with their master key during an inspection, the window flips to red and stays that way until you reset the code, so you know at a glance whether your bag was searched. It is not a deterrent against a determined thief with bolt cutters, nothing that clips onto a zipper pull is. It is a deterrent against the far more common risk, a bag left unattended on a cart with an unlocked zipper, an easy target for a few seconds of opportunity.
Before You Pack: Get a Lock TSA Can Open Without Cutting Off
A regular padlock gets cut off the moment a screener needs inside your bag, no warning, no reimbursement. The SURE LOCK set gives you a lock they can open with a master key and you can reset in seconds.
Amazon Check Today's Price on Amazon →Step 1: Buy a Lock With the TSA Recognition Mark, Not a Regular Padlock
Every TSA-recognized lock carries a small red diamond logo from Travel Sentry printed somewhere on the body. That mark tells a screener the lock has a keyway their master key fits, so if your checked bag gets pulled for a physical search, they can open it, look inside, and relock it before it goes back on the belt. Close a checked bag with a regular padlock instead and TSA will simply cut it off if your bag is selected, no phone call, no note left behind, nothing. You find out when you unzip the bag at home and the lock is gone. The SURE LOCK combination locks I keep clipped to both of our checked bags carry that mark, so I have never had one cut off in years of flying with them.
A set typically runs $11.95 for two locks, which works out to under six dollars each and is enough to cover a checked bag and a duffel, or a checked bag and a carry-on you want locked at the gate. That is cheap enough that losing one to a rough baggage handler or a worn-out dial is not a real cost. Buy the set once and you are covered for years of trips, not one vacation. Locks with a metal shackle wear better on a bag that gets tossed around than the plastic-bodied versions sold at airport kiosks for triple the price.
Match the lock to the bag hardware too. A shackle that is too thick will not fit through some zipper pulls on soft-sided duffels, and one that is too flimsy on a hard-sided case with reinforced pulls will not close snugly enough to stay put through a rough baggage cart ride. The SURE LOCK's shackle is sized for standard zipper pulls on both soft and hard luggage, which turns out to be the more common failure point than people expect when they grab whatever lock is cheapest off a drugstore rack the night before a flight.
Step 2: Set Your Own Combination Before You Leave the House
Every TSA lock ships with a factory default code, usually 0-0-0, and that code is printed right on the packaging where anyone standing behind you in the checkout line could read it. The first thing to do, before the lock ever touches a bag, is change it. Most three-dial combination locks, including the SURE LOCK, use the same basic reset method: hold down a small recessed button on the side or bottom of the lock, dial in your new three-digit code, then release the button. The new code is saved immediately and stays set until you reset it again.
Pick a code you will actually remember at 5 a.m. at the airport, not your street address or a birth year written down somewhere. I use the same three digits across every lock we own so there is only one number to keep straight across two checked bags and a carry-on. Write it down in your phone's notes app anyway. A blanked-out combination lock at a baggage carousel with a flight to catch is a bad way to start a trip, and resetting a jammed lock on the spot is harder than it sounds.
Avoid combinations tied to information printed anywhere on the bag itself, like the last three digits of the phone number on your luggage tag. It sounds obvious until you notice how many travelers use exactly that, on the theory that it is easy to remember. Anyone glancing at your tag while you fumble at the carousel has the same three digits you do. Pick something that has nothing to do with anything visible on the outside of the bag.
Step 3: Loop the Lock Through Both Zipper Pulls, Not Just One
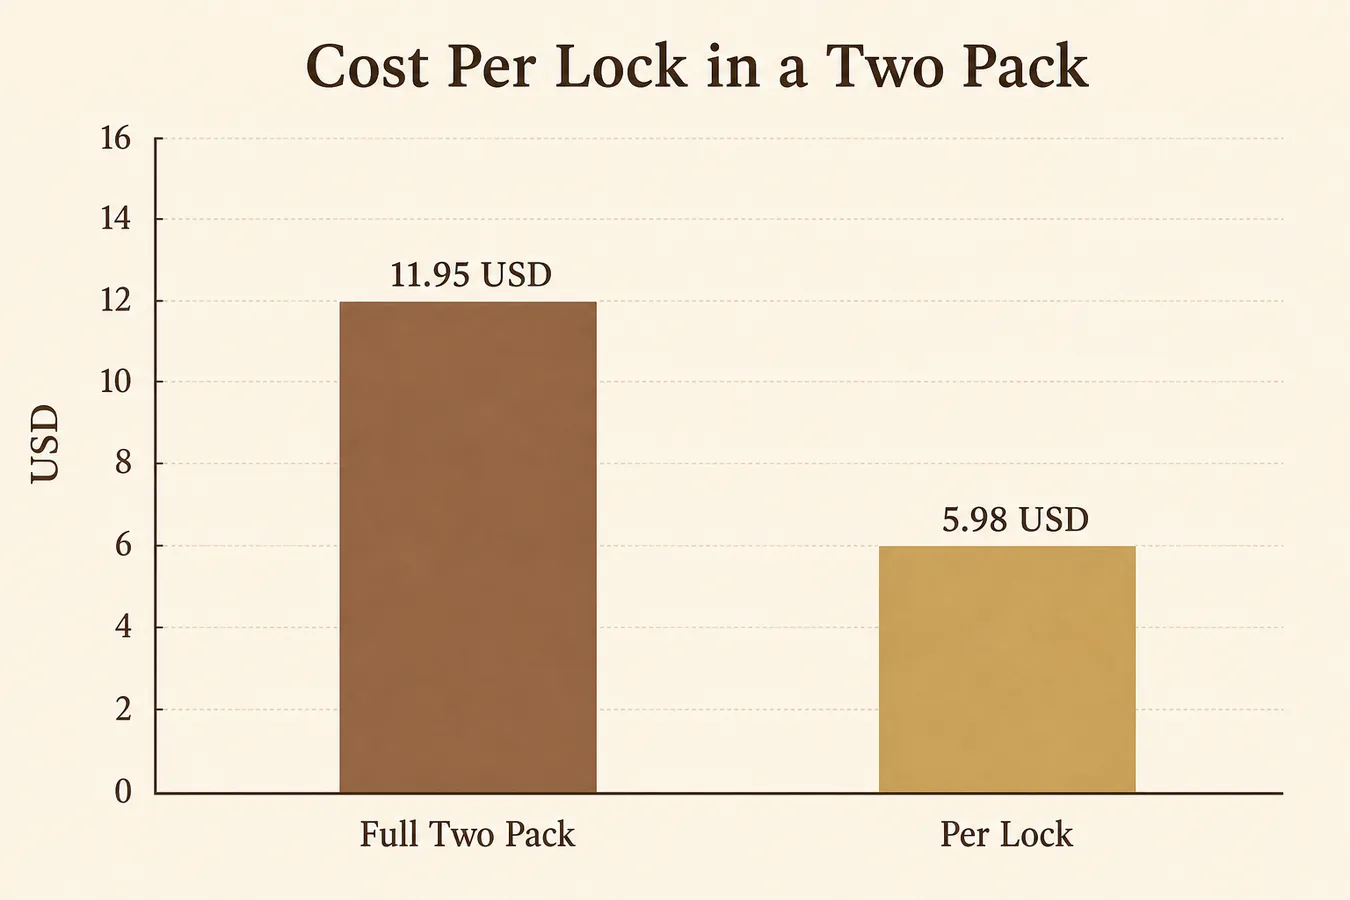
This is the step people skip, and it is the one that actually matters. Most checked bags have two separate zipper pulls that meet at a single point, usually near the top handle. Locking through only one pull does almost nothing, because the second zipper still slides open on its own track. Thread the shackle through both pulls before you close it so the two zipper tracks are physically pinned together. On a bag with more than one compartment, like an expandable suitcase with a separate shoe pocket, lock the main compartment and check that the secondary zipper cannot be worked open from underneath the main one.
Give the lock a real tug after you close it, not a light touch, to confirm the shackle caught and the dial did not slip back to open on the click. I have had a lock look closed and pop back open in my hand because I released the shackle before it fully seated. Ten seconds of checking at the counter beats finding your bag unzipped on the carousel.
If your suitcase has an integrated combination lock built into the zipper pull itself rather than a separate clip-on lock, treat it the same way: change the factory code, confirm it actually engages both zipper tracks, and do not assume the built-in version is TSA-recognized just because it looks similar to one. Check for the same red diamond Travel Sentry mark before you rely on it for anything you are checking at the counter.
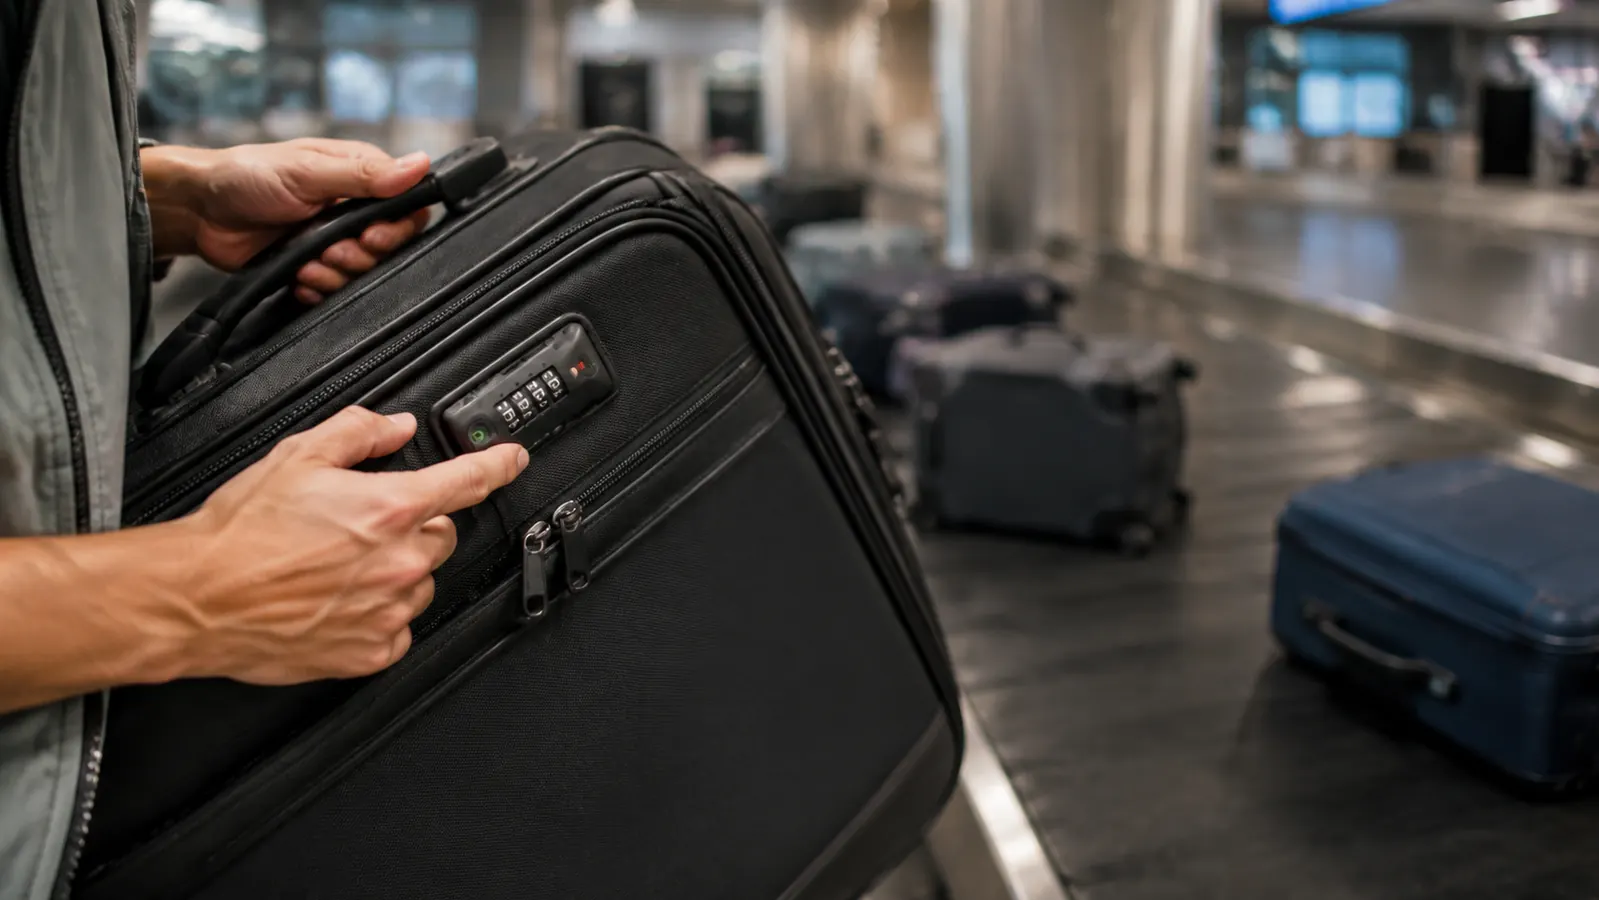
Step 4: Check the Indicator Window Before and After Every Flight
The open alert window is the actual reason to buy a TSA lock instead of a plain cable lock or a zip tie with no indicator at all. Before you hand your bag over, glance at the window and confirm it shows the closed color, usually green. When you pick your bag up at baggage claim, check it again before you unzip anything. If it shows red, your bag was opened by a screener for inspection at some point during transit, which is normal and not a sign anything is wrong. It just tells you to expect the contents to look slightly rearranged.
If the window shows red and something is actually missing, that indicator is a starting point for a claim, not proof of theft on its own. TSA does keep a claims process for items lost during a physical search, and having a lock that clearly shows it was opened by their process, rather than pried or cut, makes that claim easier to make with a straight face. Take a photo of the red indicator at the carousel before you touch the zipper. It costs nothing and it is the only evidence you will have.
Do not assume a red indicator means something was taken. The overwhelming majority of physical bag searches turn up nothing unusual and the contents go right back in. The indicator is information, not an accusation, and treating every red window as evidence of a problem will have you filing claims that go nowhere. Save the photo and the claim process for the rare case where something you actually packed is missing, not just rearranged.
Step 5: Reset the Code After Every Trip, Not Just the First Time
A lock that gets opened by a screener and relocked sometimes gets spun back to a random combination rather than left on your original code, which is a normal side effect of the master key process, not a malfunction. Get in the habit of testing your combination the moment you get home, while the trip is fresh, rather than assuming it still works the next time you pack. If the dial does not open on the first try, reset it using the same recessed-button method you used the first time, and confirm it twice before the lock goes back in the drawer.
This is also a good moment to inspect the shackle and the dial housing for damage. Airport baggage handling is rough on hardware, and a lock with a bent shackle or a dial that sticks halfway is not something you want to discover at 5 a.m. on your next departure day. A set of two locks means a damaged one is a five-minute swap, not a scramble to find a working lock before a flight.
What Else Helps
A lock only secures the outside of the bag. It does not organize what is inside or keep a leaking bottle from soaking into everything else during pressure changes in the cargo hold. If you want the whole bag as buttoned up as the outside, a hard-sided clear toiletry bag keeps anything that could leak contained to one pocket instead of your whole packing job. We cover the case for locking a checked bag at all, including how often TSA actually opens one, in 10 reasons a TSA luggage lock is worth buying, and if you are deciding between two lock options, the head-to-head is in SURE LOCK vs Forge lock.
It is also worth building the habit around your carry-on and any bag you gate-check, not just the ones that go into the hold at the counter. A gate-checked stroller bag or a backpack you hand off on the jet bridge goes through the same cargo handling as a checked suitcase, just with less warning to prep it. Keeping a spare SURE LOCK clipped to a carry-on's outer pocket means you are never caught without one when a gate agent tells you the overhead bins are full.
A visible luggage tag with your name and phone number, not your home address, matters more than most travelers assume, since a bag that gets separated from its lock during handling is far more likely to make it back to you through a legible tag than through the lock itself. Keep a printed tag on the outside and a duplicate slipped inside the top pocket, so a torn-off exterior tag does not leave the bag with zero way to identify who it belongs to.
A lock will not stop a determined thief. What it stops is the five seconds of opportunity that most bags actually face.
Lock the One Gap That's Actually Under Your Control
You cannot control the conveyor belt or the cargo hold. You can control whether your zipper pulls are pinned together with a lock TSA can open without cutting it off. The SURE LOCK set covers a checked bag, a duffel, and a spare for less than the cost of a checked bag fee.
Amazon Check Today's Price on Amazon →